This is the next post in our series that covers ingesting logs into Q:CYBER and writing detections using our streaming rules engine. In part 1 we covered how to configure NXLog to forward Windows Event Logs (WEL) into Q:CYBER. In part 2 we described in more detail how our streaming rules engine works.
In this post we are going to jump into actually writing a simple detection rule in Q:CYBER using the rules builder workflow.
What is a rule?
Rules are conditional statements that can be evaluated against key-value mappings in the logs and used to generate alerts and detections.
In Q:CYBER every rule is evaluated against every log record as it enters the pipeline. When a rule, or more specifically all conditions in a rule, evaluates to "true," an alert is generated and displayed in the queue.
As a simple example consider a log with the following fields and values:
{
“id”: 12345,
“timestamp”: 1605802140,
“name”: “Bob”,
“action”: “Login”
}
This made-up log example is recording a login event from the user with the login name “Bob.” One rule can be written to detect every time Bob logs in and then generate an alert in Q:CYBER. A conditional statement for such a rule would be:
IF name EQUALS Bob AND action EQUALS Login THEN alert
Q:CYBER Rules Builder
Constructing logical conditions in the Q:CYBER rules builder is easy. Taking the simple example above, let’s use the rules builder to construct a rule that would detect every time Bob logged on.
Creating a New Rule
In the Q:CYBER interface, first navigate to the Detections and Rules section under the Operations tab in Q:CYBER.
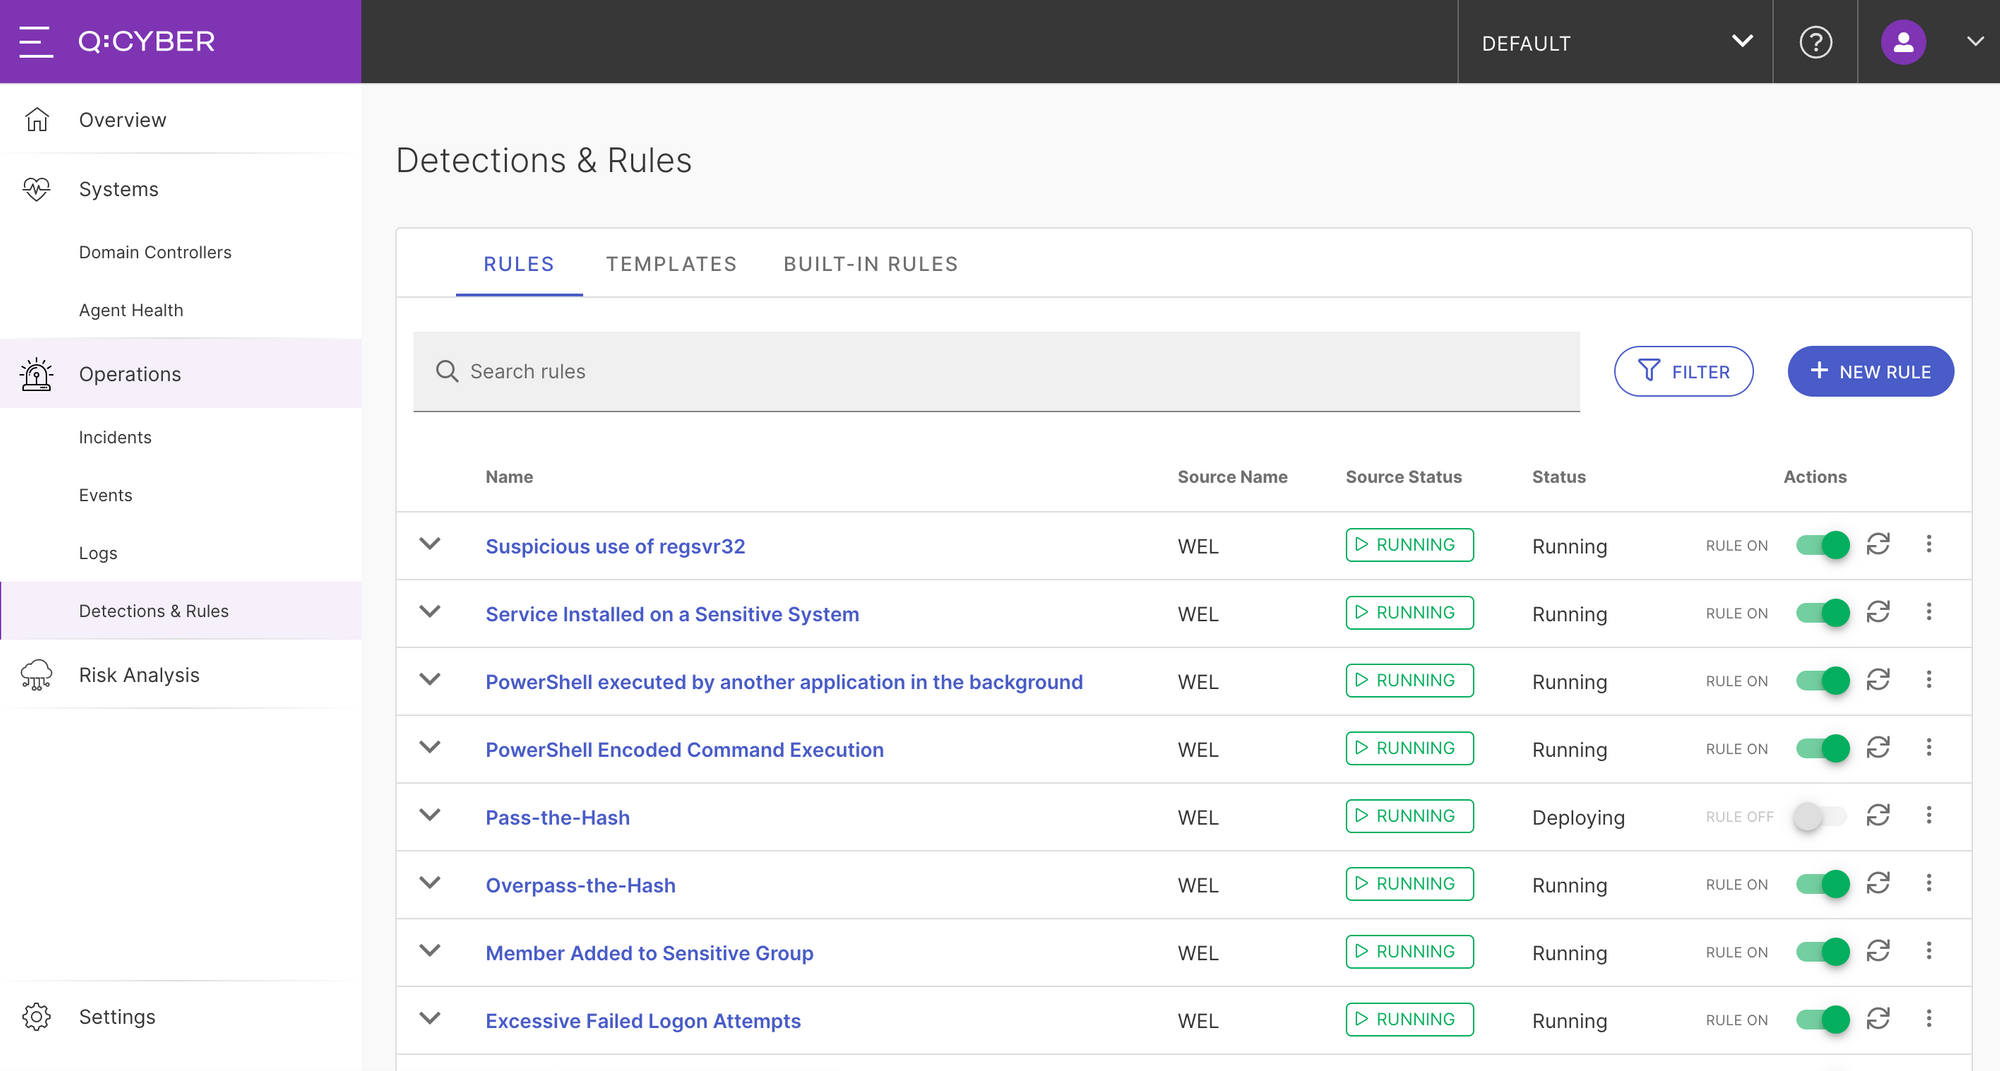
Then click on the New Rule button to open the rules builder.
(Note that for this simple example we first created a new log source called BlogTest and used the curl command line tool to send records directly to Q:CYBER. See our post on Ingesting Windows Event Logs in this series for examples of sending data to the platform. )
There are several settings in the rules builder that we’ll cover in detail in later posts, but for this example let’s focus on constructing the conditional logic.
Scrolling down to the IF section of the rule builder you can see a simple interface for setting conditional statements. The first condition we want to match is when a log record with a Name field has the value Bob. To do this we select the field Name from the dropdown, set the comparison operator to == (equals), and the value to Bob.
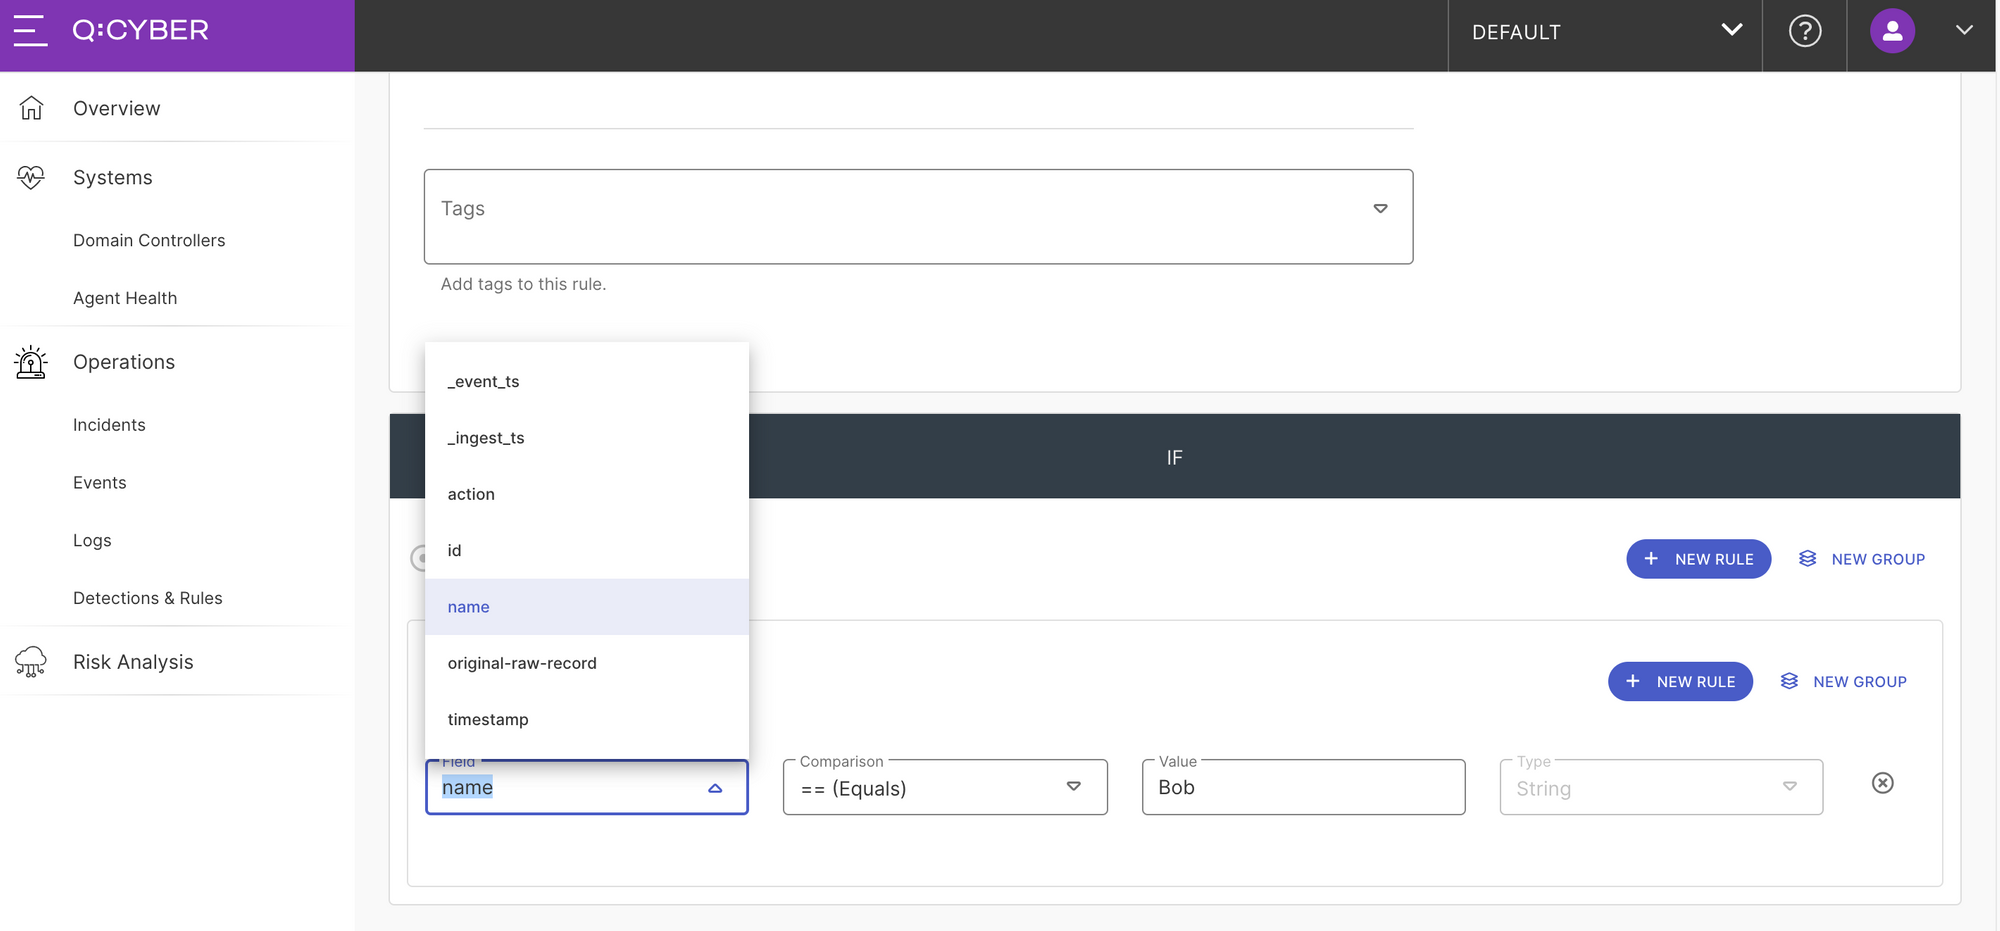
The second condition we want to match is the action field has the value Login. First, we add a new condition by selecting the New Rule button above our previous condition which will add a new blank condition to the group.
Next, select the action field from the dropdown, the == (Equals) comparison operator, and set the value to Login. Also notice that the logical condition at the top is set to AND because we want both of these conditions to be true for the rule to trigger.
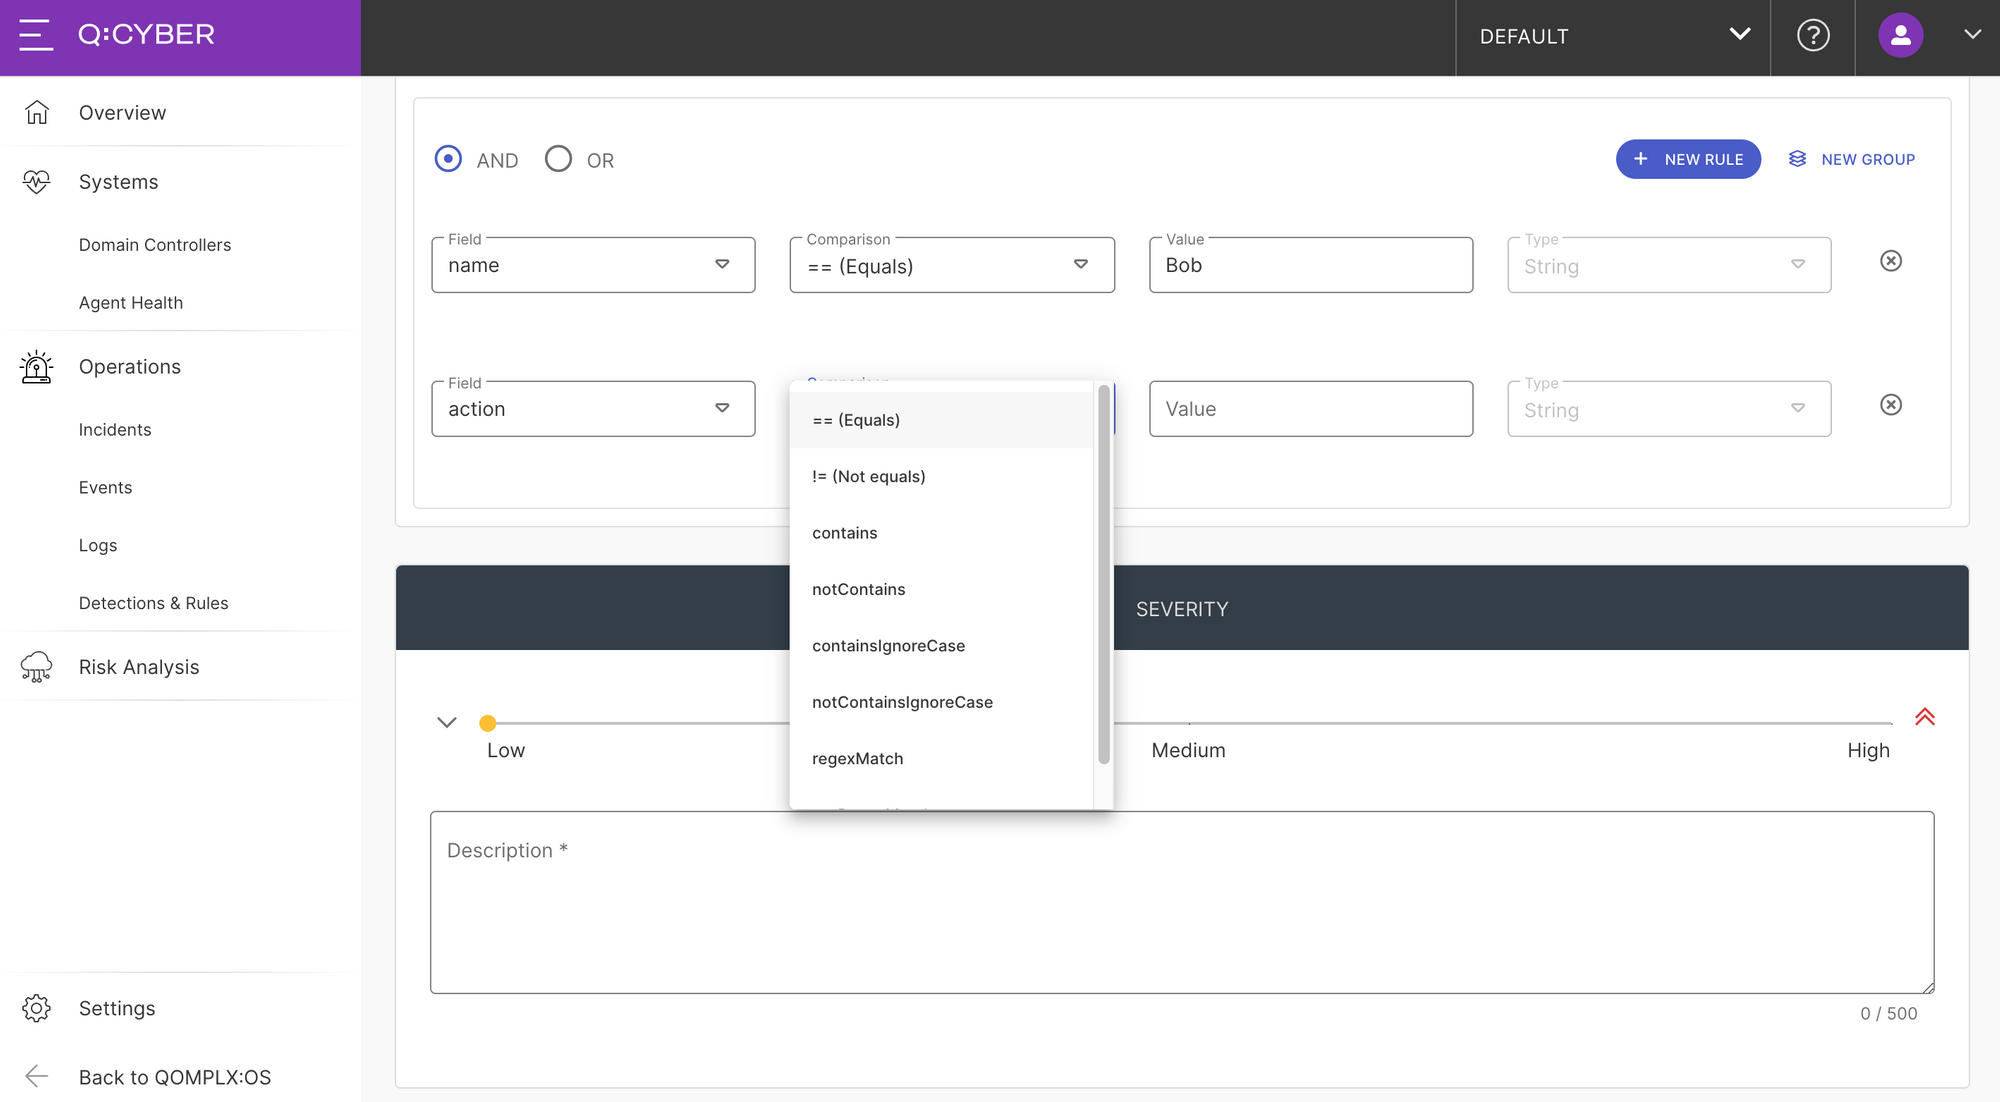
The next step is to set the severity and add a description to the alert. Finally click the Submit Rules button to create the new rule.
Deploying a Rule
Once a new rule has been created using the Rules Builder, you can deploy it simply toggle the ON/OFF switch in the rules list as shown in Figure 4.
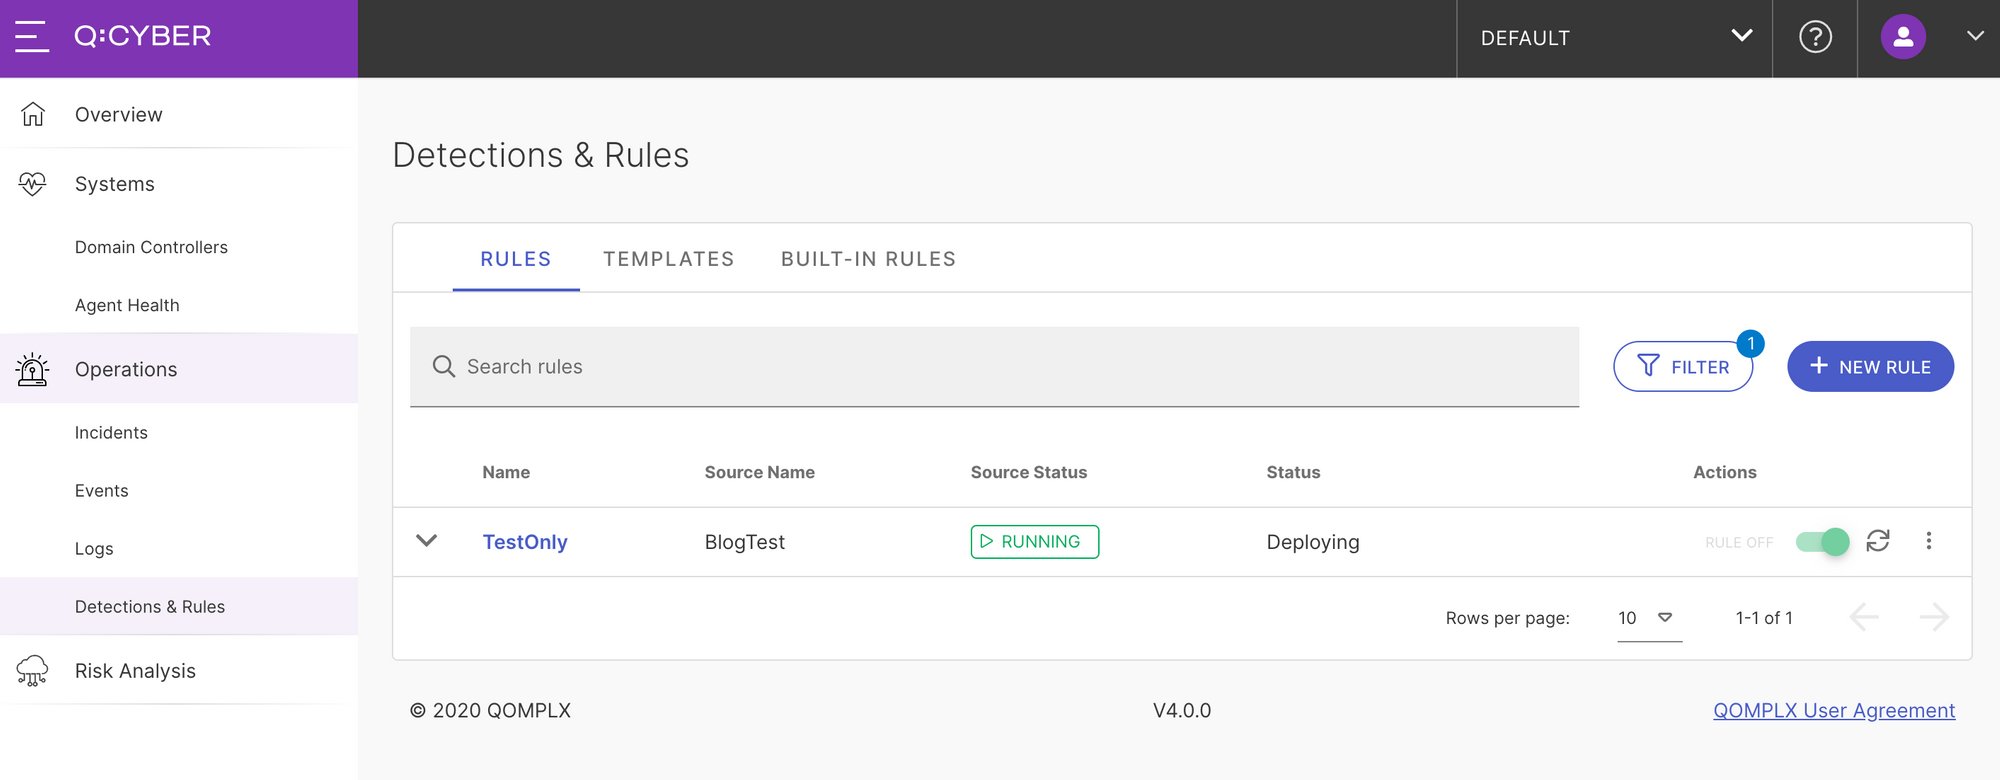
Once the rule is enabled, if the conditions are set correctly, you will receive a login alert from Bob in Q:CYBER each time he logs in.
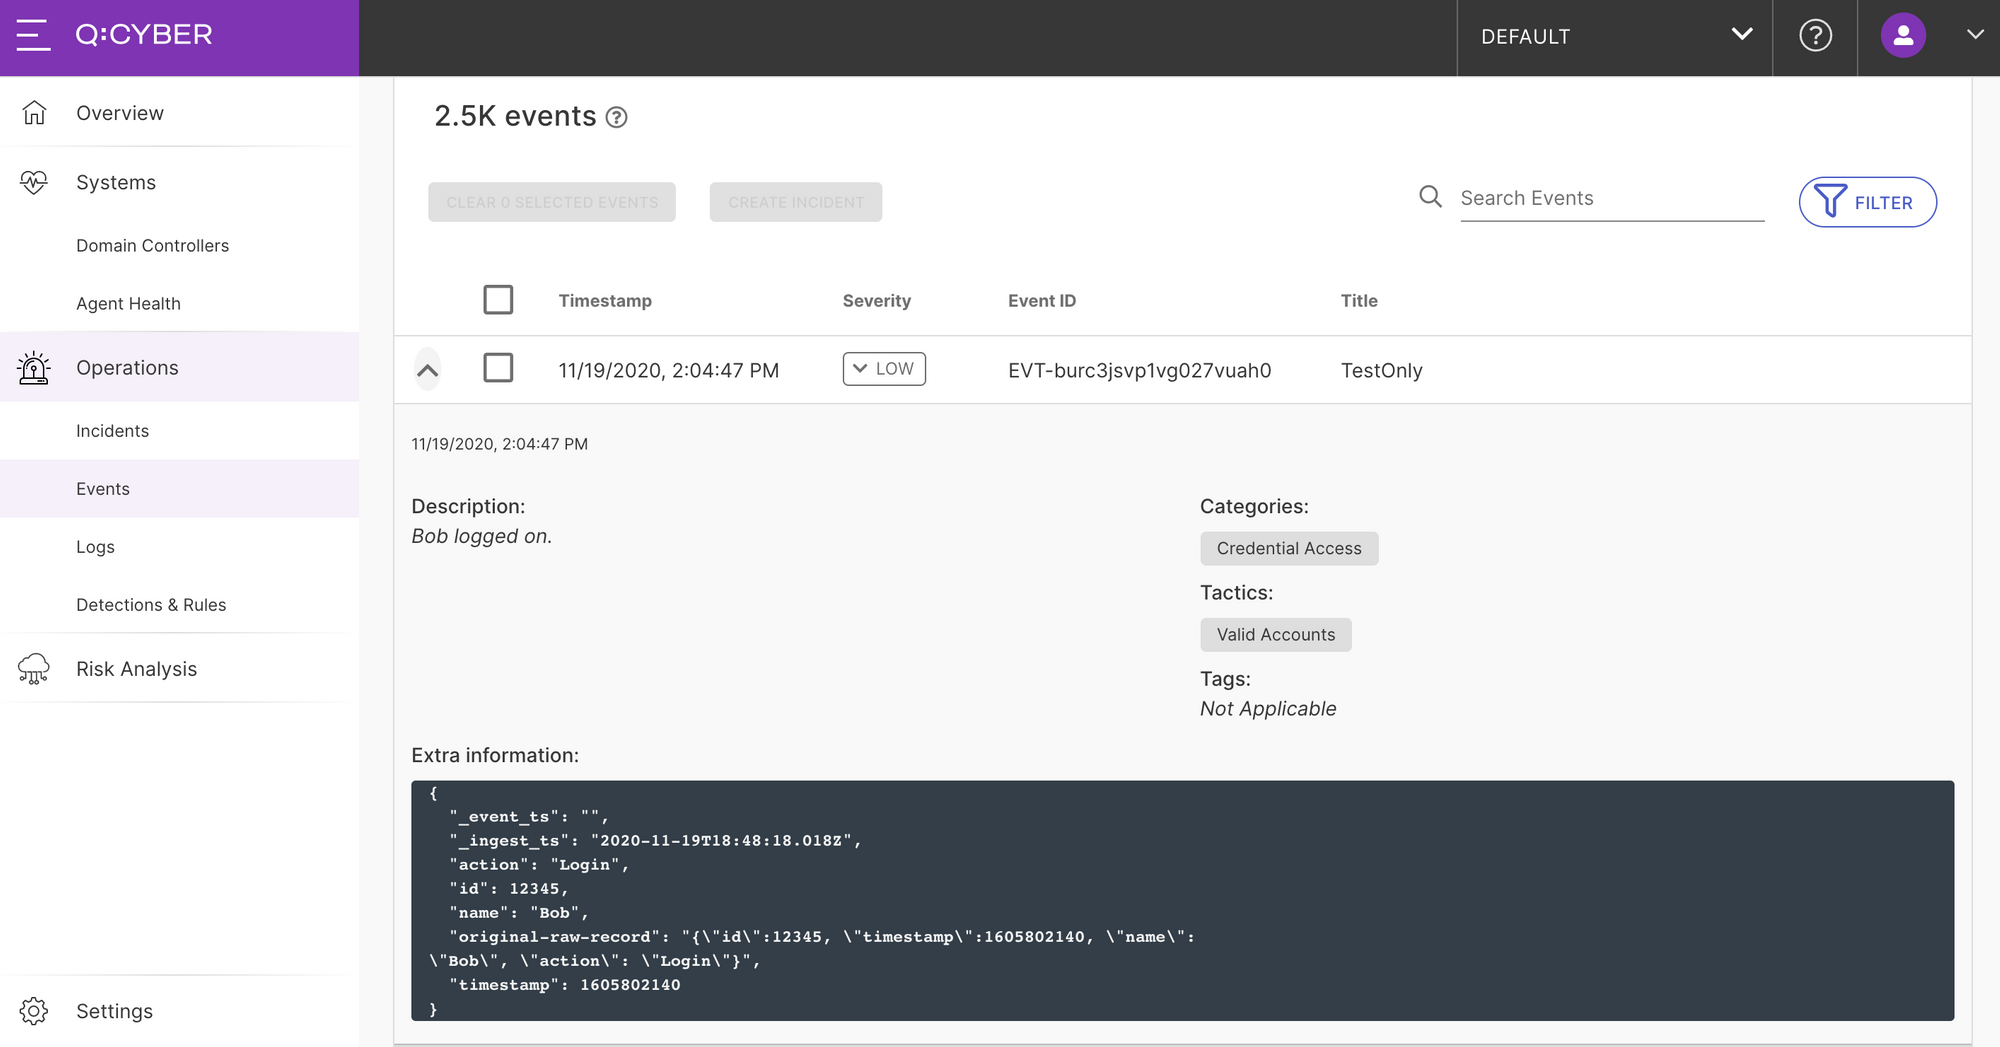
This is a simple example, but demonstrates how easy it is to construct rules in Q:CYBER. In the next post we’ll go through a more practical example of detecting a Pass-the-Hash attack using one of the many rule templates available in the platform.


